(a.k.a. How to Beat Your Friends Without Melting Your Brain)
You’ve read the Sanctuary rules, your zoo map is staring at you, and your Action cards look like they’re judging your life choices. Don’t worry. This guide is here to turn “Uhh… what do I do?” into “Oh no, I’ve created a points machine.” We’ll keep it simple, friendly, and just evil enough that your friends will start asking, “Wait, how are you scoring so much?”
If you like this kind of breakdown, you can also browse our general strategy guides or check out specific “how to win” articles for other games like Brass: Birmingham, Hegemony, Cascadia and SETI.

Sanctuary in One Paragraph
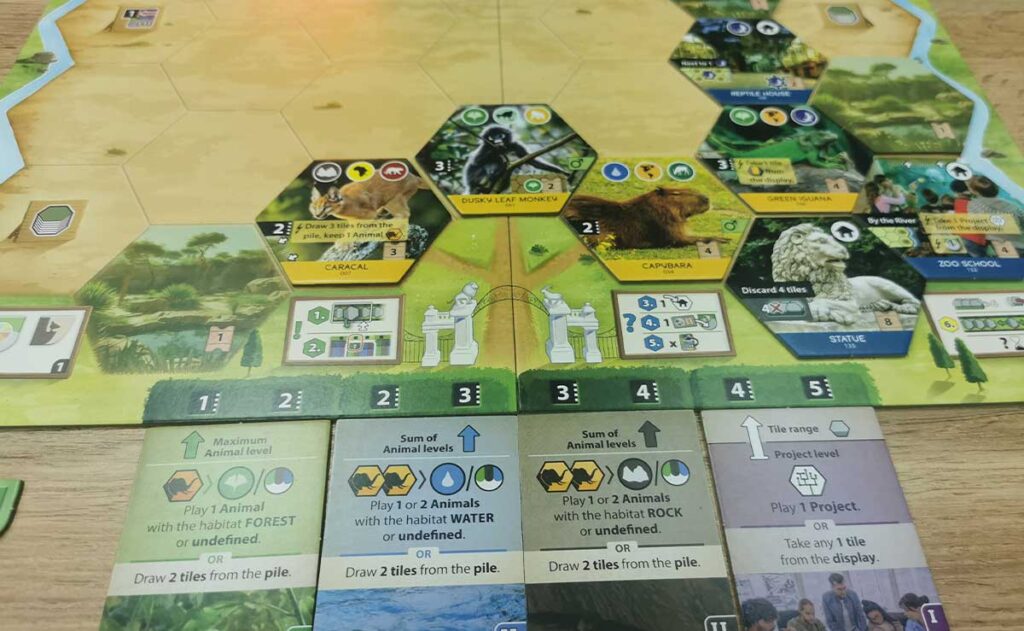
In Sanctuary, you build a personal zoo by drafting tiles from a shared display and playing Animals, Buildings, and Projects on your map. Every turn you must take 1 tile, use exactly 1 Action card, and optionally play a Building, support a Conservation objective, and upgrade actions. Your 4 Action cards slide along a row: the further right they are, the stronger their effect. Use actions when they’re strong, create smart habitat clusters, support a few well-chosen objectives, and turn “random zoo” into “carefully tuned scoring engine”.
How a Turn Works
- Take 1 tile from the display
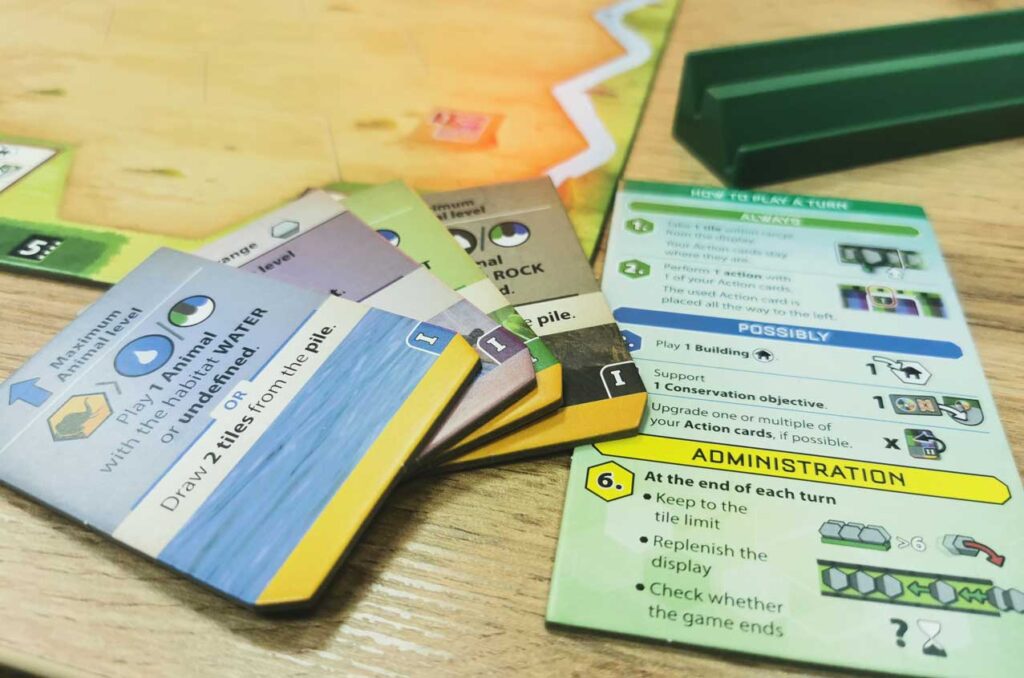
You must take exactly one tile at the start of your turn. It has to be “within range” of your Projects Action card (if its arrow points to 3, you can pick from slots 1–3). This is your main way of getting new stuff into your hand. - Use exactly 1 Action card
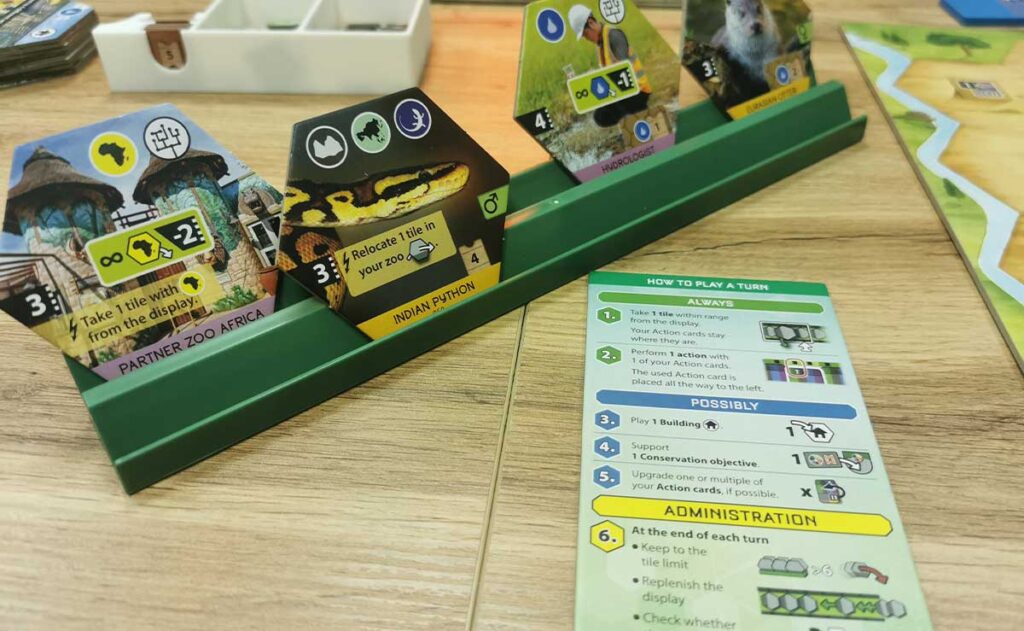
Pick one of your 4 Action cards and use one of the two actions printed on it at its current strength. This is where you:- Play Animals or Projects onto your map Draw more tiles Grab extra tiles from the display
- Optional: Building, Conservation, Upgrades
In any order, if you can:- Play 1 Building from your hand onto your map Support 1 Conservation objective (place a marker, score points, maybe spend Conservation tokens for extra icons) Upgrade Action cards if you’ve just met their conditions
- End of turn stuff
- Discard down to 6 tiles in hand if you’re above the limit Slide remaining tiles in the display down and refill Check if an end-game condition was triggered

What to Focus on in Your First Games
Pick a Simple Direction (Don’t Do Everything)
Don’t try to be the “I do all the things” player. At the beginning of the game, look at the objectives and the display and decide on one of these simple plans:
- Two habitats to focus on (e.g. Forest + Water), or
- One main icon type (e.g. Birds, or a specific continent)
Whenever you draft a tile, ask: “Does this help my plan, or at least make a good Building/Open Area?” If the answer is “no and also no”, it’s probably just future kindling for Open Areas.
Upgrade One Animals Action Early
Upgraded Animals actions are ridiculously strong for beginners:
- Basic Animals = play 1 animal
- Upgraded Animals = play 2 animals in one go (as long as their levels fit)
Make it a mini-goal:
“I will upgrade at least one Animals card as soon as I unlock any Upgrade marker.”
Your upgrade triggers can come from things like:
- 3 connected tiles of the same habitat
- 4 different animal classes
- 2 Projects in your zoo
- Supporting your first Conservation objective
When a condition is met, don’t forget to actually flip the Upgrade marker and improve a card. (Half of beginner mistakes are “oh no, I forgot I could upgrade”.)
Respect the Tile Limit (6) and Use “Bad” Tiles Wisely
New players often hoard tiles like dragons hoarding treasure… then discard the good stuff at the end of their turn.
Simple rule of thumb:
- If you already have 4–5 tiles in hand, only draft tiles that clearly fit your plan or that you’re happy to sacrifice as Open Areas very soon.
A tile that doesn’t match your plan is not useless – it’s a future Open Area, and Open Areas are how you make those big, fancy Animals and Buildings actually playable.
Easy Ways to Score Big (and Actually Win)
- Target “natural” Conservation objectives
Look at the objectives at setup and ask, “Which of these will happen naturally if I just play decently?” Things like:- Many of one habitat Many different animal classes Common continents
- Build one big habitat cluster
Having 3+ connected tiles of the same habitat (Forest/Water/Rock):- Unlocks an Upgrade Often works nicely with scoring tiles and objectives
- Use Animals actions when they’re strong
Try to use Animals when it’s at strength 3–4, especially if it’s upgraded. Playing two animals in one action at high strength is a huge tempo advantage. Save the small actions (like drawing tiles) for your weaker cards on the left. - Pick engine Buildings over “cute but random” ones
Buildings come in three broad flavors:- One-time boosts – nice, but short-livedOngoing effects – small bonuses that keep paying outEnd-game scorers – points for icons or features you’ve collected
- Ongoing effects that support your plan (e.g. discounts, extra draws) End-game scorers that match what you’re already doing
- Grab animal pairs when it’s easy
If you already have one half of a species and the other copy appears in the display, it’s often correct to grab it. Placing them orthogonally adjacent gets you a free Conservation marker, which is:- +1 icon for objectives when spent, or Flat VP at the end if kept
- Practice “polite” hate-drafting
Keep an eye on what your friends are building. If you see:- A tile that is perfect for them and only “fine” for you
- Control when the game ends
The game can end when:- Someone supports 4 objectives
- Someone fills their entire zoo map
- The tile pile runs out
If you’re ahead, push one of these end conditions. If you’re behind, avoid

Your First 3 Turns: A Simple Game Plan
Here’s a very gentle script you can follow in your first game or two. Obviously, you’ll adapt to the display, but this gives your brain a starting point.
- Turn 1
- Draft a tile that matches an easy objective (common habitat or animal type). Use a weaker action (like drawing tiles or a small Projects action) to start shifting your important Actions (especially Animals) to the right.
- Turn 2
- Draft another tile that fits your emerging “theme”. Use a decent-strength Animals action to play your first animal (create Open Areas if needed). Pay attention to forming your first small habitat cluster.
- Turn 3
- Try to extend that habitat cluster or grab a tile that clearly helps a Conservation objective. If you’ve met any Upgrade condition, flip an Upgrade marker and upgrade one of your Animals cards right away. From this point on, aim to fire that upgraded Animals action when it’s strong and build towards your first supported objective.
Final Thoughts & More Strategy Deep Dives
Sanctuary looks heavy at first glance, but once you internalize “1 tile, 1 action, optional bonuses”, it becomes a really satisfying spatial puzzle with a bit of friendly sabotage thrown in. If you focus on one or two habitats, upgrade an Animals card early, build some neat clusters, and support a few well-chosen objectives, you’ll already be ahead of most first-time players. Your zoo will look good and your score will too.
When you’re ready to level up further (or just want to crush the table a little harder), you can dive into more strategy content in our general strategy section, or explore game-specific guides like Mastering Brass: Birmingham, the Hegemony advanced strategy guide, our Cascadia beginner guide, or the SETI beginner strategy. Until then, enjoy building zoos, pairing animals, and pretending that taking the perfect tile from the display was “pure coincidence”.
