Alright, let’s level you up.
I’m going to talk to you the way I teach my own group when they’ve played a handful of times and want to start winning Brass: Birmingham, not just “doing things.” I’ll frame it around the decisions that actually swing games: action efficiency, beer tempo, development timing, and rails. I’ll give you concrete lines, table reads, and “if-this-then-that” pivots you can apply immediately.
The mindset that wins Brass
Think in VP per action, not in “engines.” Every move should either:
- flip a high-value tile soon,
- enable a two-link rail push, or
- choke opponents’ access to beer/merchants/resources on your timing.
Money and income are tools, not goals. If an action doesn’t move you toward a flip or a scoring link this round or next, it’s suspect.
Canal era blueprint (set the table for rail)
Your canal era isn’t about points; it’s about position, deck-thinning, and beer control so your rail era explodes.
The three strongest canal plans
1) Iron & Develop (my default if cards cooperate)
- Open by connecting somewhere useful (a hub or an iron slot), drop Ironworks, then Develop 2-3 times immediately using that iron.
- You’re thinning out L1 junk so your rail-era placements actually score.
- Aim those develops at whatever you intend to sell (Cotton/Manufactured, sometimes early Brewery L2).
“L1” means Level-1 industry tiles-the lowest tier of each industry on your player board (e.g., L1 Cotton, L1 Brewery, L1 Coal, etc.). In Brass: Birmingham, all L1 tiles are removed from the map at the end of the Canal era (flipped or not). That’s why I call them “temporary.” They’re fine if they flip quickly for early tempo, but they won’t help your Rail-era links. So, in the guide when I say “develop past L1,” I mean: use Develop actions to skip or prune those L1 tiles so you can place L2+ tiles that (a) score more when flipped, (b) stay for the Rail era, and (c) keep paying you via link scoring and board presence.
2) Beer Anchor (when the table is tight or you see juicy merchants)
- Early Brewery near a hub (Birmingham/Coventry/Worcester) that can feed your first sale(s).
- Sell from it quickly so you reap the tempo before others siphon your beer.
- The point isn’t “I made beer”; it’s “my beer let me flip tiles before you did.”
3) Flexible BR(I)C (balanced resource pressure)
- One Ironworks for Develop tempo, maybe one opportunistic Coal if the market’s painful and demand is imminent, then secure a beer line.
- You’re not spamming resources-you’re making sure when anyone spends, you’re getting paid in tempo or income while you improve your deck.
“Tempo” in board gaming is your ability to do meaningful things sooner than your opponents and to dictate the sequence of play. You gain tempo when a single action scores now and unlocks strong follow-ups, or when it forces others to spend turns reacting instead of advancing their plan. It’s initiative plus action efficiency: your next turn is already productive while theirs is spent catching up. In Brass, that looks like selling with your beer this round, double-railing first next round, and draining merchant beer so rival flips stall.

Canal heuristics I live by
- Develop early and often. If you’re placing L1 Cotton/Manufactured “just to place,” you’re gifting future actions away.
- Don’t float the table with freebies. If coal/iron/beer doesn’t immediately convert to your flip/link, let someone else be the charity.
- Always plan the beer route before the build. No beer = no sale = a sad, stranded tile.
- Loans with purpose. Loan on a turn that also moves you forward (Develops, sale, or key link). Loaning to build something that won’t flip soon is how you finish third with great income and no points.
Rail era: the money round
If canal is set-up, rail is harvest. Enter rail with:
- Cash to double-rail immediately (and again soon after).
- Beer access (yours or locked via links) to power sales and the double-rail action.
- Upgraded tiles ready to hit the board and flip.
Rails as a plan, not logistics
- Routes through hubs (Birmingham->Worcester/Coventry/Wolverhampton) score twice: they create sales and give you high-traffic link VP.
- Try to double-rail early; falling a round behind here is brutal.
- Favor spine routes (a long arterial path) over pretty spokes that don’t connect your economy. When in doubt: “Does this link carry me to beer + merchants?” If not, cut it.
Industry-by-industry: how I actually use them
Breweries – your tempo lever
- Place where multiple merchants are a couple rails away.
- Ideally sell your stuff with your beer first, then leave the table thirsty.
- Don’t drown the board in beer early; make people work to reach it (preferably through your links).
Ironworks – the development battery
- Premier canal tile. Turn it into 2-4 Develops, then let the table or market empty it.
- The earlier you thin, the more every later action returns.
Coal Mines – opportunistic, not a lifestyle
- Build when the market is expensive and multiple players need coal this round.
- Great just before a burst of rails (yours and others’) so you rake income, then you still get to lay your links.
- If coal is cheap in the market and opponents are already supplying, skip it.
Cotton & Manufactured – midgame workhorses
- Don’t place until you’ve got beer and route mapped.
- Develop past L1. The difference between “that flipped for okay points” and “that flipped for real points” is almost always one or two Develops you should’ve done earlier.
Pottery – the haymaker
- Win condition tile set, but only if your rails/beer/merchant tiles line up.
- If you can’t guaranteed-sell it on the placement cycle, don’t touch it. Parking pottery is how leads evaporate.
Stuck on a quirky edge case or just want to double-check a flip? Summon the rulebook like a wizard: Brass: Birmingham – Rules PDF.
Card mastery (where many games are lost)
- Sequence around your hand, not around your wishes. If you’re card-locked on location, consider a develop/sell/loan that advances your state instead of brute-forcing a bad build.
- Scout sparingly. It’s powerful but expensive in tempo and cards. Do it when it unlocks multiple future actions (e.g., wilds that let you both place the brewery you need and the follow-up sale).
- Discard timing matters. If you’re going to discard to cycle, try to do it on a turn where you’d be weak on spending anyway so you snag an earlier turn order for the next round.
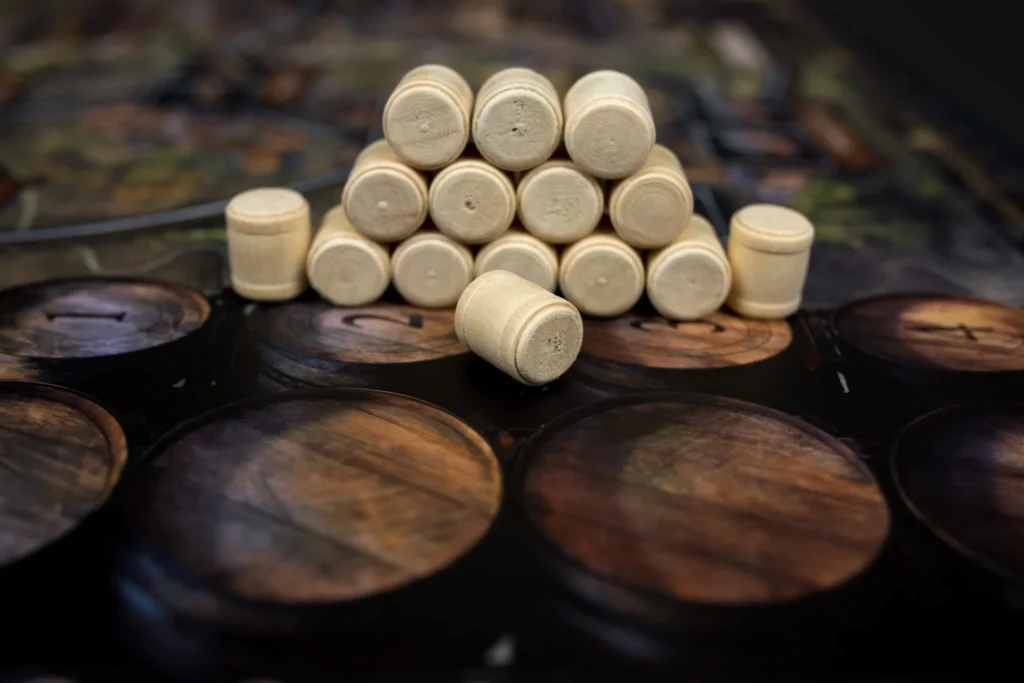
Beer is the real currency
I think about beer on three layers:
- Immediate beer (can I sell this turn?),
- Projected beer (where will it be when I’m ready to flip the big tile?),
- Denying beer (can I drain public/merchant beer and strand someone’s sale?).
Some of my nastiest swings come from this line:
- I double-sell using brewery beer + a merchant’s last beer, then I act earlier next round (thanks to low spend) to lay two rails through a now-thirsty region. Their 12-20 VP sale evaporates; my links score and I’m already selling again.
Turn order as a weapon
- Spending little this round to jump the queue next round can net you rails, beer, or a sale timing others can’t contest.
- Conversely, sometimes you must spend big now to secure a cornerstone (a hub link, a critical brewery spot). Know which round you’re playing.
Level up your power plays in Hegemony – wrangle votes, time crises, and bend the economy to your will with this spicy deep-dive: Advanced Hegemony Strategy Guide.
Denial and overbuilds (the sharp tools)
- Drain beer on purpose. If two players need the same merchant’s beer, your sale now is a 15-25 VP swing against the table, not just a flip for you.
- Overbuild your own low-level junk. Developing around it is best, but if you mis-sequenced and left L1 tiles clogging space, overbuild them with L2+ when the path is clear.
- Location pressure. Take the single good brewery slot that feeds two merchants. Even if you never sell from it, the threat forces inefficiency.
Map geometry that actually matters
- Birmingham hub is king, but Coventry/Worcester/Wolverhampton are where rail VP is often decided. Build spines that pass through at least two of those.
- Early canals should either:
a) enable your Develop battery (iron), or
b) claim a brewery line that becomes a rail highway later. - Avoid dead ends unless they flip immediately or they’re a stepping stone to an even bigger rail route next round.

Loans, cashflow, and thresholds
- I like to hit rail with enough cash to double-rail twice within two rounds and fund one strong placement that flips.
- Loans are best when paired with flips the same cycle (“loan-neutral” turns): you take the income hit but immediately score/link to offset tempo.
- If you’re loaning to place coal while the market is flooded and no one is rail-ready, you’re paying interest on a future that isn’t coming.
New to SETI? Tune your antennas, dodge the space-noise, and lock onto that first signal with this friendly crash course: Beginner’s Guide to Playing SETI.
Player-count pivots
2P: Space to breathe. Lean heavier into Develop chains and bespoke rail spines. You can be greedier with pottery because denial pressure is lower-just still lock beer first.
3P: Fast tables. Prioritize tempo (Develop → sale → double-rail) and make people pay through your links.
4P: Knife-fight. Brewery timing and hub occupation decide games. Scout only when it’s fixing a jam that would cost two actions later.
Opening lines you can actually follow
(Adapt to your hand. These are templates, not scripts.)
A) Iron Battery → Develop Burst
- Canal link to iron spot → Ironworks → Develop x2-x3 → place L2 Cotton/Manufactured near beer → sell.
- Use leftover cash to line up an early rail link that turns into a spine next round.
B) Beer Anchor → Double Sale
- Brewery in reach of two merchants → drop Cotton/Manufactured where both are reachable → sell twice in two turns (your beer first) → late-canal coal only if the market is tight and rails are coming.
C) BR(I)C Flex → Early Rails
- Develop, Ironworks, maybe Coal if market is painful → secure a hub link → hit rail with cash/beer → double-rail immediately, then place/sell (or pottery if it’s live).
Tactical patterns I reach for again and again
- The “empty then sprint.” I let opponents buy my expensive coal/iron, then I cash that income spike into a double-rail + sale while they’re broke and slow in turn order.
- The “beer fork.” I set up two plausible sales; whichever beer is left after others act, I take the other path and still flip.
- The “late-canal prune.” Use the last 1-2 canal actions to Develop again so every rail-era placement pays. Many players forget that final prune and then waste rail actions fixing their deck.
Common mistakes (stop doing these)
- Building coal or iron “because it flips.” If you can’t monetize the timing, you just subsidized the table.
- Placing L1 industries in canal you won’t flip until rail. Develop first; place later.
- Entering rail without cash + beer for an immediate double-rail.
- Selling before you’ve connected links that will later be your VP backbone (you took the points, but you didn’t build the highway).
Endgame focus (last 3-4 actions)
- Count remaining beer and merchant demand-twice. You’re looking for the line that denies a rival sale and lands you a flip.
- Prioritize link VP if your industry flips are mostly done. Two well-placed rails can beat a mediocre pottery sell that you barely line up.
- Don’t strand pottery. If you can’t guarantee beer + route, pivot to extra rails and a simpler Cotton/Manufactured sale instead.
Recap & quick checklist
My brass wins usually follow this arc:
- Canal: Develop hard (iron battery helps), claim a beer lane, get one or two fast flips.
- Transition: Sit on cash/beer, take a purposeful loan if needed, eye turn order.
- Rail: Double-rail early, place only upgraded tiles, sell on your timing, and starve the board of beer when it hurts most.
Key points to watch every round
- Do I have a beer-backed sale lined up before I place?
- What’s my next double-rail and does my cash support it?
- Can I Develop to turn a mediocre placement into a banger?
- If I spend less now, do I win turn order next round for a denial play?
- Am I about to donate resources without getting paid in tempo or VP?
Bottom line: win Brass by thinking VP per action, not engines. In canal, develop hard (an iron “battery” helps), claim a beer lane, and line up at least one clean flip. Hit rail with cash and timing, double-rail early, and only place upgraded tiles you can immediately sell. Control beer like a resource choke: use yours first, drain public/merchant beer when it strands rivals, and never donate coal/iron unless it buys you tempo. Leverage turn order – spend light to move first when a denial play or rail spine is on the table. If each round you can answer “Where’s my beer? What flips next? What two links score most?” you’ll convert tight maps into winning scores.
Keep the strategy train rolling
- Binge the whole vault: Craving more crunchy tips? Dive into all our strategy write-ups here → All Strategy Guides.
- Run a country, not a canal: Flex your inner policy wonk and outmaneuver the electorate with our deep-dive → Hegemony: Advanced Strategy Guide.
- Point your dish to the stars: New to SETI? Lock onto your first signal with this friendly primer → Beginner’s Guide to Playing SETI.

